
Brightness and contrast: Whilst changing the brightness and contrast on an  image, you will need to use the dodge and burn tool. On the left the layer called dodge and burn shows where this has been used. The dodge tools brightens the image and the burn tool allows you to add shadows. Afterwards the vibrance allows you to adjust the saturation and vibrance to make the overall appearance look good.
Below is an example of where i have used the tool however to make it less vibrant i need to use the vibrance tool and decrease the number and make the brightness be suitable to the image. However you can also change the opacity of the dodge tool to adjust the image.

Dodge and Burn tool :
When using the dodge tool you cover the selected area you want to brighten in this case it was the skin, once you have done this the area becomes bright as shown below. At first it may look overexposed however you can change the opacity so it does not show through as harshly. On the other hand the burn tool is used to create shadows around the image to create a more visual and 3d effect.
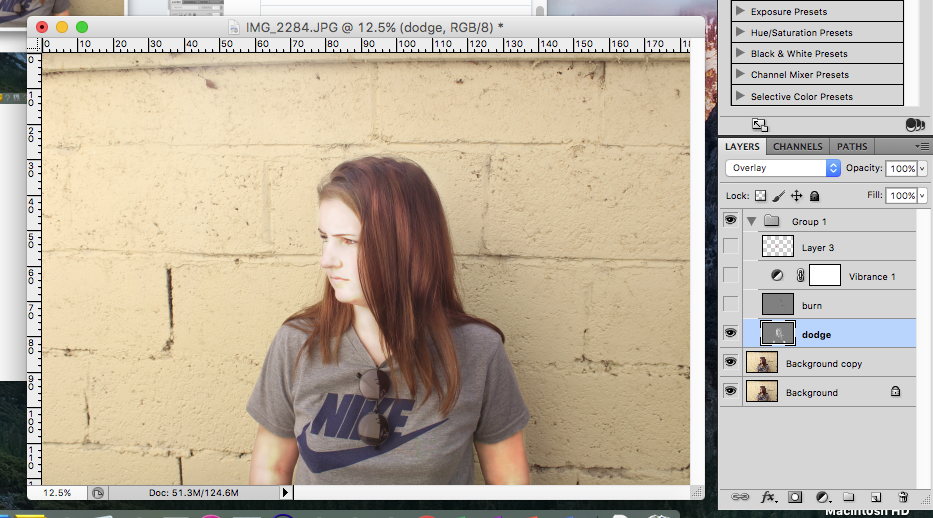
Below is an example of how to increase the brightness and contrast in an image using the dodge and burn editing tool.
Hue and saturation :
By changing the hue and saturation is allows you to adjust the colours in the image and change them or make them lighter and darker.

For example in this case i adjusted the sky using the cyan colours and made the hue and saturation higher but the lightness lower to give it a more subtle appearance.
To use the hue and saturation they are located in the adjustment tools area of which you can chose a colour which will then allow you to adjust a certain area of the image. For example by picking reds it allowed me to change the skin saturation and hue making it more light and tanned.

How to use hue and saturation in photoshop:
By using the brightness, contract, hue and saturation tool all in one image to adjust the outcome it allows you to create a more appealing overall photograph.


The left image is before making the right image the one that i have adjusted. To create this i used the dodge tool to lighten the skin and then the burn tool to create more of a shadow and separate the subject from the background. The hue and saturation then offered me to change the colour of the sky to make it a lighter colour and the skin to be perceived as more natural and smooth look.
